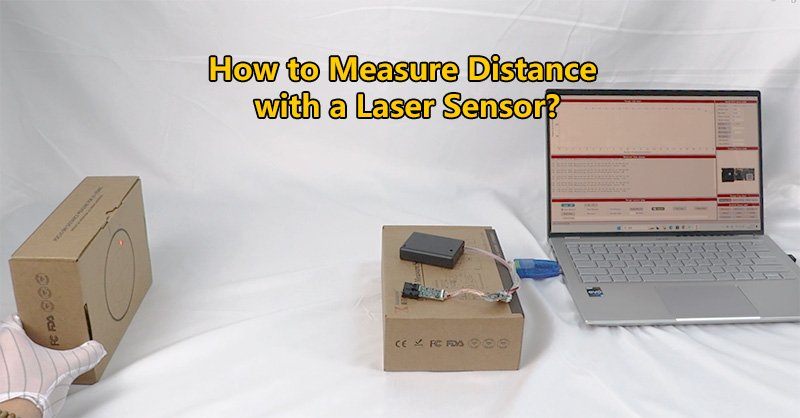
What is an Arduino Laser Distance Sensor?
The laser distance sensor is a game-changer in distance measurement applications, providing high accuracy and versatility. When paired with an Arduino development board, it becomes a powerful tool for a wide range of projects, from robotics to smart home systems. In this article, we’ll explore how to connect a laser distance sensor to Arduino and unlock its potential for your projects.

Why Use Arduino with a Laser Distance Sensor?
Arduino is a popular microcontroller platform known for its ease of use and compatibility with various sensors and modules. When combined with a laser distance sensor, Arduino offers:
- High Precision: Measure distances with millimeter-level accuracy.
- Customizable Applications: Create tailored solutions for robotics, industrial automation, and more.
- Real-Time Data Processing: Process measurement data instantly for immediate action.
- Cost-Effectiveness: Build advanced systems without breaking the bank.

The Advantages of Combining Arduino and Laser Distance Sensors
When paired, Arduino laser distance sensors offer several benefits:
- Ease of Integration:
Most laser distance sensors support common communication protocols like I2C, UART, or SPI, which are fully compatible with Arduino boards. This makes connecting and programming the sensor straightforward. - Customizable Applications:
Arduino’s programmable nature allows users to design custom measurement systems tailored to specific needs, such as automated distance monitoring, obstacle detection, or real-time feedback loops. - Cost-Effective Development:
Both Arduino boards and laser distance sensors are affordable, making this pairing an excellent choice for low-budget projects without compromising on quality. - Real-Time Data Processing:
With Arduino’s fast processing capabilities, data from the laser distance sensor can be captured, analyzed, and displayed in real-time, enabling immediate insights and actions. - Scalability:
Arduino supports multiple sensors and modules, allowing developers to scale their projects by integrating additional features, such as wireless communication or data logging.
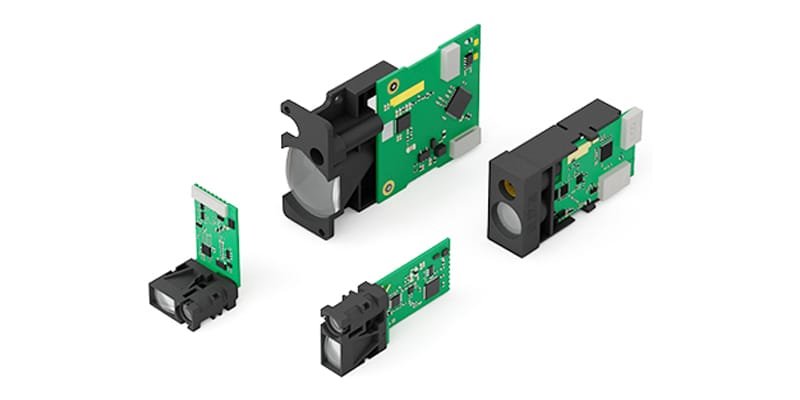
Wiring Methods for Different Communication Types of Laser Distance Sensors
When connecting a laser distance sensor to your Arduino or other microcontroller, the wiring method depends on the sensor’s communication interface. Below are the common wiring setups for different communication types:

1. UART (Serial Communication)
- VCC: Connect to the Arduino’s 3.3V or 5V power pin (depending on the sensor’s voltage requirement).
- GND: Connect to the Arduino’s ground (GND).
- TX: Connect the sensor’s TX pin to the Arduino’s RX pin.
- RX: Connect the sensor’s RX pin to the Arduino’s TX pin.
2. I2C (Two-Wire Communication)
- VCC: Connect to the Arduino’s 3.3V or 5V power pin.
- GND: Connect to the Arduino’s ground (GND).
- SCL: Connect the sensor’s SCL pin to the Arduino’s SCL pin
- SDA: Connect the sensor’s SDA pin to the Arduino’s SDA pin
3. Analog Signal Output
- VCC: Connect to the Arduino’s 3.3V or 5V power pin.
- GND: Connect to the Arduino’s ground (GND).
- Analog Output: Connect the sensor’s analog output pin to one of the Arduino’s analog input pins.
4. Digital Trigger Signal
- VCC: Connect to the Arduino’s 3.3V or 5V power pin.
- GND: Connect to the Arduino’s ground (GND).
- Trigger Pin: Connect the sensor’s trigger pin to one of the Arduino’s digital pins.
Learn more about how the Arduino Laser distance sensor works.
Example Applications
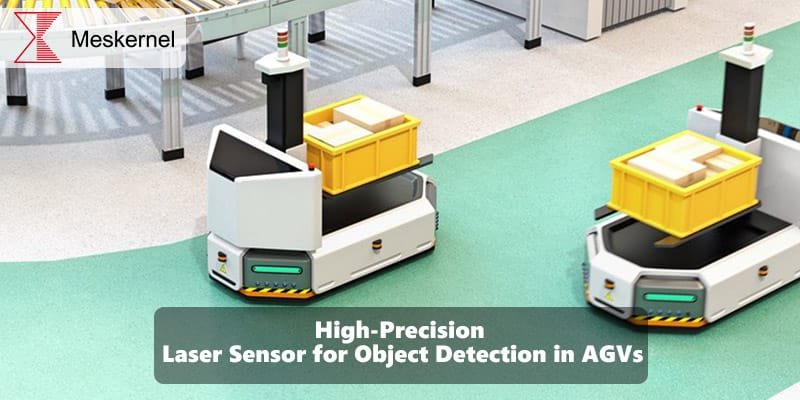
- Obstacle Avoidance in Robotics:
Using a laser distance sensor with Arduino, robots can detect and avoid obstacles in their path with high precision, ensuring smooth navigation in dynamic environments. - DIY Smart Home Projects:
Create a smart system for measuring room dimensions or controlling doors and windows based on proximity using this powerful pairing. - Industrial Automation:
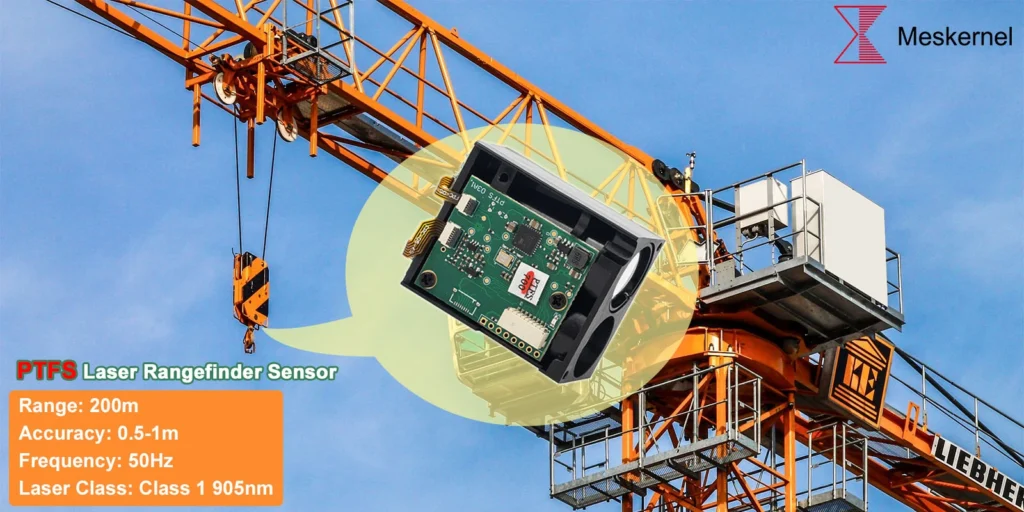
Measure distances on conveyor belts or monitor equipment positions in real-time, enhancing efficiency and safety in industrial settings. - Drone Altitude Measurement:
The combination enables precise altitude control for drones, ensuring stable flight even in challenging terrains.

How to Get Started
To pair an Arduino with a laser distance sensor:
- Choose the Right Hardware: Select an Arduino board (e.g., Uno or Nano) and a laser distance sensor that suits your project’s range and accuracy requirements.
- Establish Connections: Use the appropriate interface (I2C, UART, or SPI) to connect the sensor to the Arduino board.
- Install Libraries: Many laser distance sensors come with pre-built Arduino libraries, simplifying the programming process.
- Program and Test: Write or modify sample code to integrate the sensor’s data into your application and test its functionality.
Conclusion
The combination of Arduino laser distance sensor provides a robust and flexible solution for developers looking to integrate high-precision measurement into their projects. Whether you’re a beginner building your first DIY project or a professional working on advanced applications, this pairing offers the tools you need to succeed.
Looking for the perfect arduino laser distance sensor for your project? Explore our range of high-quality sensors designed for seamless integration and exceptional performance. Contact us today to learn more!