Как создать проект лазерного датчика Arduino: Проводка, код и промышленное применение
Введение
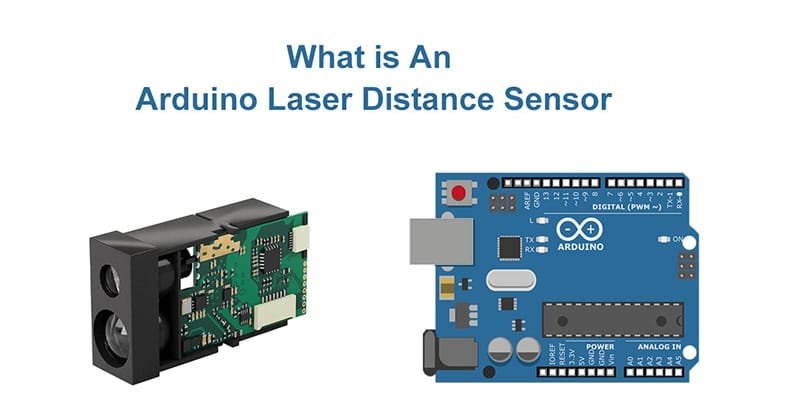
Интеграция лазерный датчик с Arduino это один из самых эффективных способов точного измерения расстояния в режиме реального времени во встраиваемых системах. Создаете ли вы робота, автоматические ворота или систему мониторинга, этот лазерный датчик Arduino Установка обеспечивает высокую точность, большой радиус действия и быстрый отклик - и все это в компактном корпусе.
В этой статье мы расскажем вам о подключении, настройке, примере кода и типичных промышленных приложениях. Ключевые слова, такие как лазерный датчик arduino, Лазерный датчик для arduino, и модуль лазерного датчика arduino Также рассматриваются вопросы, которые помогут вам найти подходящий модуль и реализацию для вашего проекта.

Зачем использовать лазерный датчик с Arduino?
По сравнению с ультразвуковыми или инфракрасными датчиками, лазерные датчики обеспечивают:
- Повышенная точность: До ±1 мм
- Увеличенный диапазон измерений: От нескольких сантиметров до 3000 метров
- Более быстрый отклик: Идеально подходит для высокоскоростных приложений
- Компактная и прочная конструкция: Многие модули поддерживают корпуса с классом защиты IP
Эти преимущества делают лазерный датчик Arduino Интеграция подходит как для любителей DIY, так и для профессиональных промышленных инженеров.
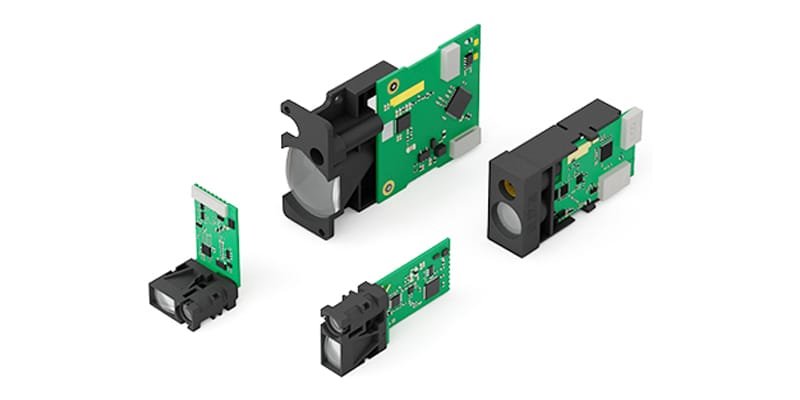
Типовые характеристики модуля
| Характеристика | Описание |
|---|---|
| Интерфейс | UART / TTL |
| Рабочее напряжение | логика 3,3 В |
| Диапазон | 0,05 м - 3000 м |
| Точность | ±1 мм |
| Приложение | Робототехника, автоматизация, позиционирование |
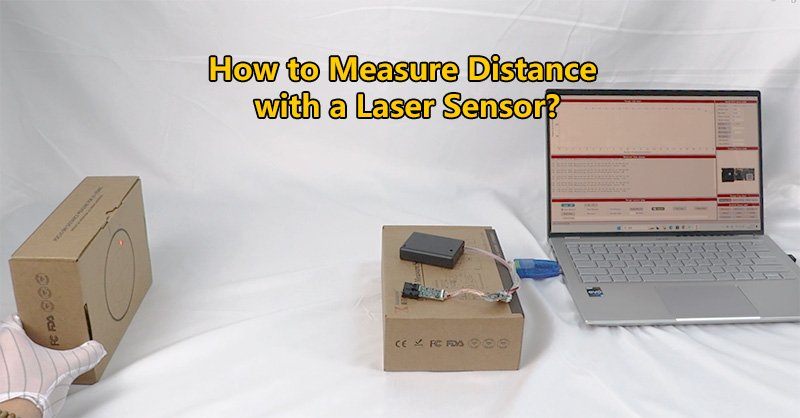
Руководство по подключению модуля лазерного датчика Arduino
Вы можете подключить LDJ лазерный датчик для Arduino используя всего четыре провода-перемычки. Вот распространенная схема:

| Провод датчика | Контактный вывод Arduino | Функция |
|---|---|---|
| Черный | GND | Земля |
| Красный | 3.3V | Источник питания |
| Желтый | D3 | RX (прием) |
| Зеленый | D2 | TX (передача) |
Важно: Убедитесь, что контакт TX Arduino не подает 5 В непосредственно на логический датчик с напряжением 3,3 В. При необходимости используйте переключатель уровней.
Пример кода: Считывание данных о расстоянии до лазера
#include

SoftwareSerial laserSerial(2, 3); // RX = D2, TX = D3

void setup() {
  Serial.begin(9600);
  laserSerial.begin(115200); // Установите скорость передачи данных, соответствующую скорости передачи данных вашего датчика.
  Serial.println("Запущено считывание данных с лазерного датчика Arduino");
}

void loop() {
  if (laserSerial.available()) {
    String data = laserSerial.readStringUntil('\n');
    Serial.println("Расстояние: " + данные);
  }
  задержка(100);
}
Этот простой скетч инициализирует последовательное соединение и выводит данные о расстоянии в Serial Monitor.
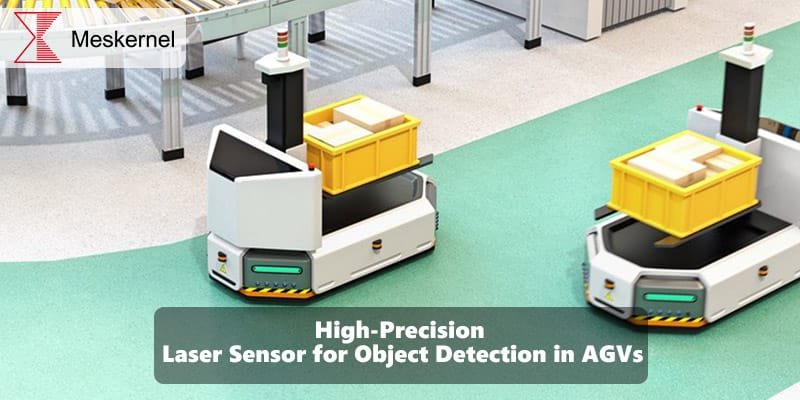
Примеры использования лазерного расстояния Arduino Сенсорные проекты
Вот несколько реальных вариантов применения лазерный датчик Arduino установка:
| Приложение | Описание |
|---|---|
| Навигация в робототехнике | Точное избегание препятствий и составление карт |
| Портовые доковые системы | Контролируйте расстояние от судна до причала в режиме реального времени |
| Автоматизация склада | Точное определение высоты и местоположения объекта |
| Зоны промышленной безопасности | Контроль присутствия объектов в опасных зонах |
| Умное земледелие | Измерение роста растений или высоты местности |
В каждом конкретном случае используются высокоскоростные и высокоточные измерения, с которыми не могут сравниться простые аналоговые датчики.

Советы по устранению неполадок
- Нет показаний? Проверьте проводку RX/TX и скорость передачи данных
- Непонятный вывод? Убедитесь, что скорость передачи данных соответствует настройкам датчика
- Датчик не реагирует? Убедитесь, что питание составляет 3,3 В.
- Нестабильные показания? Добавьте конденсаторную фильтрацию или проверьте поверхность отражения
Заключение
A лазерный датчик Arduino Проект предлагает высокую производительность и простоту использования. Будь вы мастер, желающий расширить свой набор инструментов, или инженер, создающий промышленные прототипы, эти датчики предлагают серьезные возможности в небольшом форм-факторе.
Изучите наш каталог продукции для получения полного списка модули лазерных датчиков arduinoВ комплекте с техническими характеристиками и примером кода.