레이저 센서 아두이노 프로젝트를 구축하는 방법: 배선, 코드 및 산업용 애플리케이션
소개
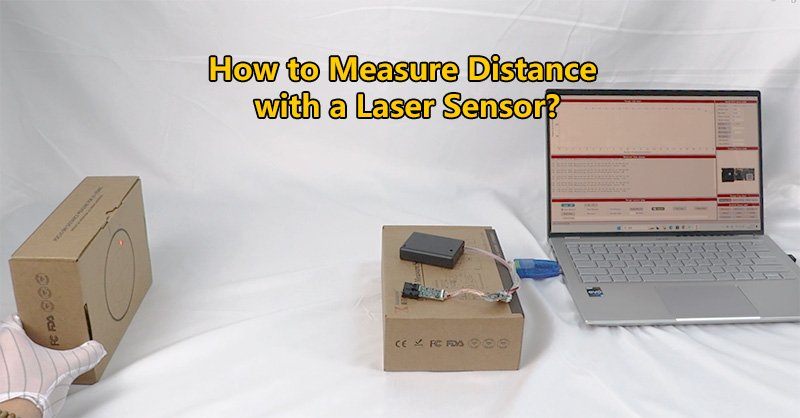
통합 아두이노 레이저 센서 는 임베디드 시스템에서 정밀한 실시간 거리 측정을 달성하는 가장 효율적인 방법 중 하나입니다. 로봇, 자동 게이트, 모니터링 시스템 등 어떤 시스템을 구축하든 이 레이저 센서 아두이노 설정은 컴팩트한 디자인에 높은 정확도, 긴 범위, 빠른 응답을 모두 제공합니다.
이 글에서는 배선, 설정, 샘플 코드 및 일반적인 산업용 애플리케이션에 대해 안내합니다. 다음과 같은 키워드 아두이노 레이저 센서, 아두이노용 레이저 센서및 아두이노 레이저 센서 모듈 프로젝트에 적합한 모듈과 구현을 찾는 데 도움이 되는 내용도 다루고 있습니다.

아두이노에 레이저 센서를 사용하는 이유는 무엇인가요?
초음파 또는 적외선 센서에 비해 레이저 센서는 다음과 같은 이점을 제공합니다:
- 더 높은 정확도: 최대 ±1mm
- 더 긴 측정 범위: 몇 센티미터에서 최대 3000미터까지
- 더 빠른 응답: 고속 애플리케이션에 이상적
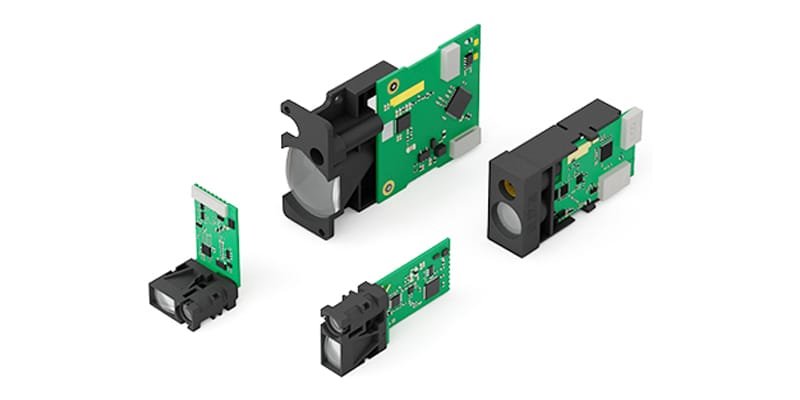
- 작고 튼튼한 디자인: 많은 모듈이 IP 등급 인클로저 지원
이러한 장점은 다음과 같습니다. 레이저 센서 아두이노 DIY 애호가와 전문 산업 엔지니어 모두에게 적합한 통합 기능을 제공합니다.
일반적인 모듈 사양
| 기능 | 설명 |
|---|---|
| 인터페이스 | UART / TTL |
| 작동 전압 | 3.3V 로직 |
| 범위 | 0.05m - 3000m |
| 정확성 | ±1mm |
| 애플리케이션 | 로보틱스, 자동화, 포지셔닝 |
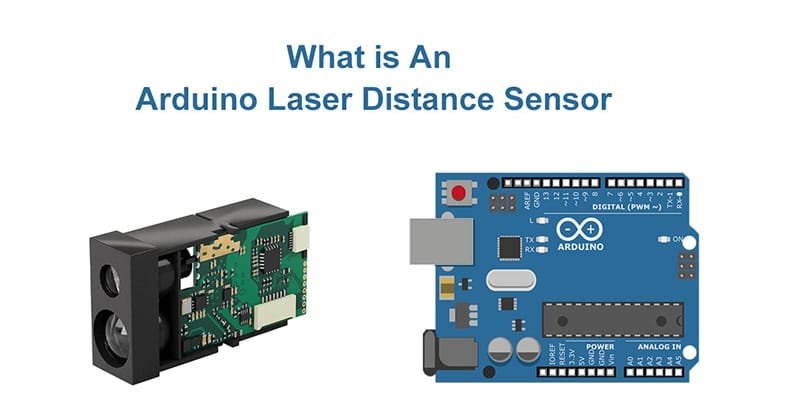
아두이노 레이저 센서 모듈용 배선 가이드
연결할 수 있습니다. LDJ 레이저 센서 아두이노용 단 4개의 점퍼 와이어를 사용합니다. 일반적인 설정은 다음과 같습니다:

| 센서 와이어 | 아두이노 핀 | 기능 |
|---|---|---|
| 블랙 | GND | Ground |
| 빨간색 | 3.3V | 전원 공급 장치 |
| 노란색 | D3 | RX(수신) |
| 녹색 | D2 | TX(전송) |
중요: 아두이노의 TX 핀이 5V를 3.3V 로직 센서로 직접 보내지 않도록 하세요. 필요한 경우 레벨 시프터를 사용합니다.
예제 코드: 레이저 거리 데이터 읽기
#포함

SoftwareSerial laserSerial(2, 3); // RX = D2, TX = D3

void setup() {
  Serial.begin(9600);
  laserSerial.begin(115200); // 센서의 전송 속도에 맞게 설정합니다.
  Serial.println("레이저 센서 아두이노 판독 시작");
}

void loop() {
  if (laserSerial.available()) {
    문자열 데이터 = 레이저 시리얼.readStringUntil('\n');
    Serial.println("거리: " + 데이터);
  }
  지연(100);
}
이 간단한 스케치는 직렬 연결을 초기화하고 거리 데이터를 직렬 모니터에 인쇄합니다.
아두이노 레이저 거리 사용 사례 센서 프로젝트
다음은 몇 가지 실제 애플리케이션입니다. 레이저 센서 아두이노 설정합니다:
| 애플리케이션 | 설명 |
|---|---|
| 로보틱스 내비게이션 | 정확한 장애물 회피 및 매핑 |
| 포트 도킹 시스템 | 선박과 선석 간 거리 실시간 모니터링 |
| 창고 자동화 | 물체의 높이와 위치를 정확하게 감지 |
| 산업 안전 구역 | 위험 구역에서 물체 존재 여부 모니터링 |
| 스마트 농업 | 식물 성장 또는 지형 고도 측정 |
각 사용 사례는 단순한 아날로그 센서로는 따라올 수 없는 고속, 고정밀 측정의 이점을 누릴 수 있습니다.

문제 해결 팁
- 수치가 없나요? RX/TX 배선 및 전송 속도 확인
- 왜곡된 출력? 전송 속도가 센서 설정과 일치하는지 확인
- 센서가 응답하지 않나요? 3.3V로 전원이 공급되는지 확인합니다.
- 수치가 불안정한가요? 커패시터 필터링 추가 또는 반사 표면 확인
결론
A 레이저 센서 아두이노 프로젝트는 고성능과 사용 편의성을 모두 제공합니다. 툴킷을 확장하려는 메이커든 산업용 프로토타입을 제작하는 엔지니어든, 이 센서는 작은 폼 팩터에서 강력한 기능을 제공합니다.
살펴보기 제품 카탈로그 의 전체 목록을 보려면 아두이노 레이저 센서 모듈데이터시트 및 샘플 코드가 포함되어 있습니다.