Comment construire un projet Arduino de capteur laser : Câblage, code et applications industrielles
Introduction
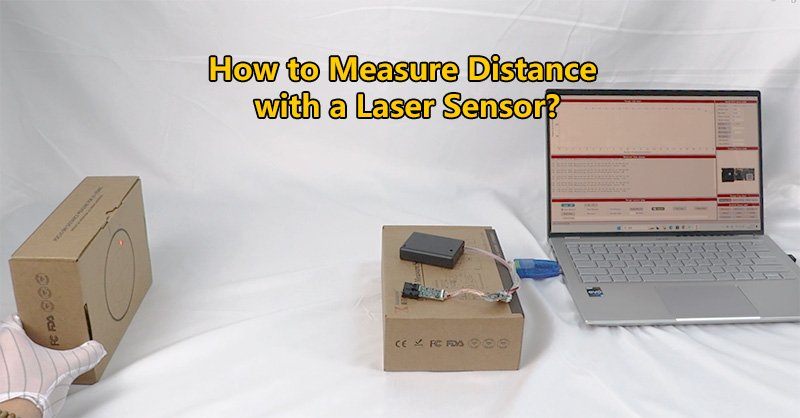
Intégrer un capteur laser avec Arduino est l'un des moyens les plus efficaces d'obtenir des mesures de distance précises et en temps réel dans les systèmes embarqués. Que vous construisiez un robot, un portail automatisé ou un système de surveillance, cette capteur laser Arduino offre une grande précision, une longue portée et une réponse rapide, le tout dans un design compact.
Dans cet article, nous vous présenterons le câblage, la configuration, un exemple de code et des applications industrielles typiques. Des mots-clés tels que capteur laser arduino, capteur laser pour arduinoet module de capteur laser arduino sont également abordés pour vous aider à trouver le module et la mise en œuvre qui conviennent à votre projet.

Pourquoi utiliser un capteur laser avec Arduino ?
Par rapport aux capteurs ultrasoniques ou infrarouges, les capteurs laser offrent les avantages suivants :
- Une plus grande précision: Jusqu'à ±1 mm
- Plage de mesure plus longue: De quelques centimètres à 3000 mètres
- Une réponse plus rapide: Idéal pour les applications à grande vitesse
- Conception compacte et durable: De nombreux modules sont compatibles avec les boîtiers classés IP
Ces avantages font que capteur laser Arduino qui conviennent aussi bien aux bricoleurs qu'aux ingénieurs industriels professionnels.
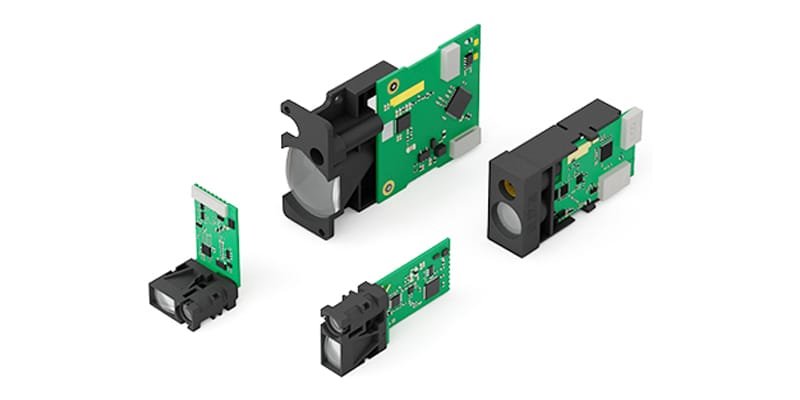
Spécifications typiques des modules
| Fonctionnalité | Description |
|---|---|
| Interface | UART / TTL |
| Tension de fonctionnement | 3,3V logique |
| Gamme | 0,05 m - 3000 m |
| Précision | ±1 mm |
| Application | Robotique, automatisation, positionnement |
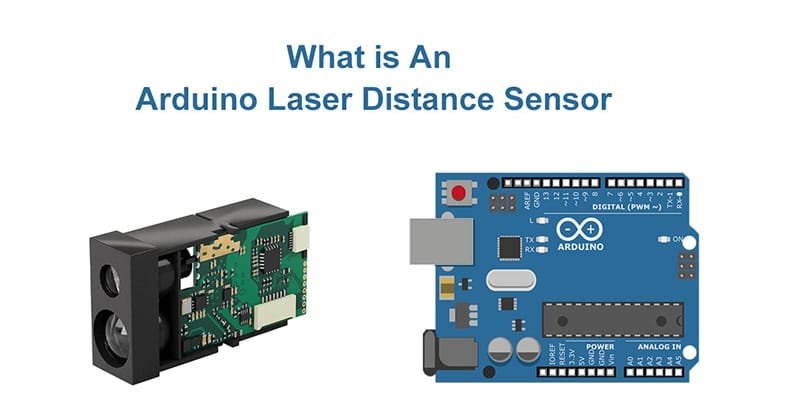
Guide de câblage pour le module de capteur laser Arduino
Vous pouvez connecter un LDJ capteur laser pour Arduino en utilisant seulement quatre fils de connexion. Voici une configuration courante :

| Fil du capteur | Broche Arduino | Fonction |
|---|---|---|
| Noir | GND | Sol |
| Rouge | 3.3V | Alimentation électrique |
| Jaune | D3 | RX (réception) |
| Vert | D2 | TX (transmission) |
Important : veillez à ce que la broche TX de l'Arduino n'envoie pas 5V directement dans un capteur logique de 3,3V. Si nécessaire, utilisez un décalage de niveau.
Exemple de code : Lecture des données relatives à la distance du laser
#include

SoftwareSerial laserSerial(2, 3) ; // RX = D2, TX = D3

void setup() {
  Serial.begin(9600) ;
  laserSerial.begin(115200) ; // Régler pour correspondre à la vitesse de transmission de votre capteur
  Serial.println("Laser sensor Arduino reading started") ;
}

void loop() {
  if (laserSerial.available()) {
    String data = laserSerial.readStringUntil('\n') ;
    Serial.println("Distance : " + data) ;
  }
  délai(100) ;
}
Ce simple croquis initialise la connexion série et imprime les données de distance sur le moniteur série.
Cas d'utilisation de la distance laser Arduino Projets de capteurs
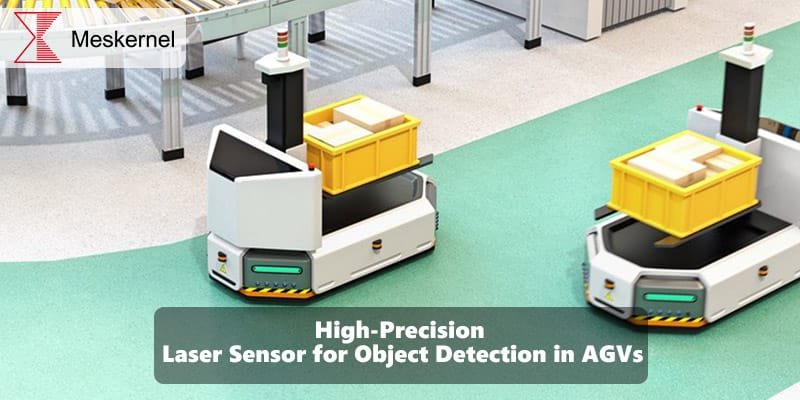
Voici quelques applications concrètes d'une capteur laser Arduino de l'installation :
| Application | Description |
|---|---|
| Navigation robotique | Évitement des obstacles et cartographie précise |
| Systèmes d'amarrage au port | Contrôle en temps réel de la distance entre le navire et l'embarcadère |
| Automatisation des entrepôts | Détection précise de la hauteur et de l'emplacement des objets |
| Zones de sécurité industrielle | Contrôler la présence d'objets dans les zones dangereuses |
| Agriculture intelligente | Mesurer la croissance des plantes ou l'altitude du terrain |
Chaque cas d'utilisation bénéficie de mesures à grande vitesse et de haute précision que les simples capteurs analogiques ne peuvent égaler.

Conseils de dépannage
- Pas de lecture ? Vérifier le câblage RX/TX et le débit en bauds
- Sortie brouillée ? S'assurer que le débit en bauds correspond aux réglages du capteur
- Le capteur ne répond pas ? Confirmer qu'il est alimenté à 3,3V
- Des relevés instables ? Ajouter un condensateur de filtrage ou vérifier la surface de réflexion
Conclusion
A capteur laser Arduino offre à la fois des performances élevées et une grande facilité d'utilisation. Que vous soyez un bricoleur cherchant à élargir sa boîte à outils ou un ingénieur construisant des prototypes industriels, ces capteurs offrent de sérieuses capacités dans un petit format.
Découvrez nos catalogue de produits pour une liste complète des modules de capteurs laser arduinoavec des fiches techniques et des exemples de code.