Cómo construir un sensor láser Arduino Proyecto: Cableado, código y aplicaciones industriales
Introducción
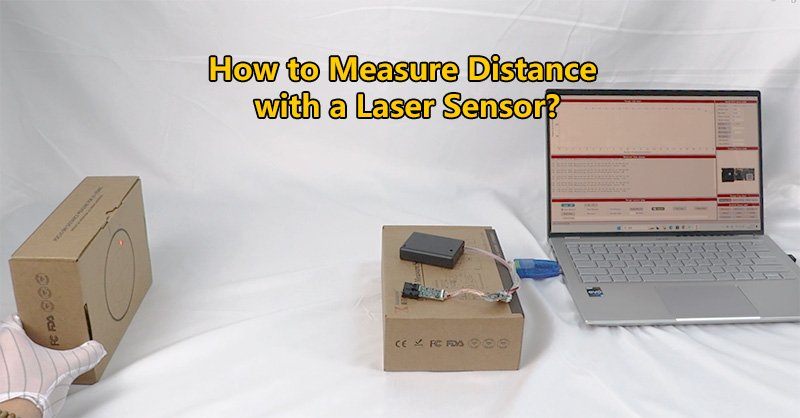
Integración de un sensor láser con Arduino es una de las formas más eficaces de conseguir mediciones de distancia precisas y en tiempo real en sistemas embebidos. Tanto si está construyendo un robot, una puerta automatizada o un sistema de monitorización, este sensor láser Arduino ofrece alta precisión, largo alcance y respuesta rápida, todo ello en un diseño compacto.
En este artículo, le guiaremos a través del cableado, la configuración, el código de ejemplo y las aplicaciones industriales típicas. Palabras clave como sensor láser arduino, sensor láser para arduinoy módulo sensor láser arduino para ayudarle a encontrar el módulo y la aplicación adecuados para su proyecto.

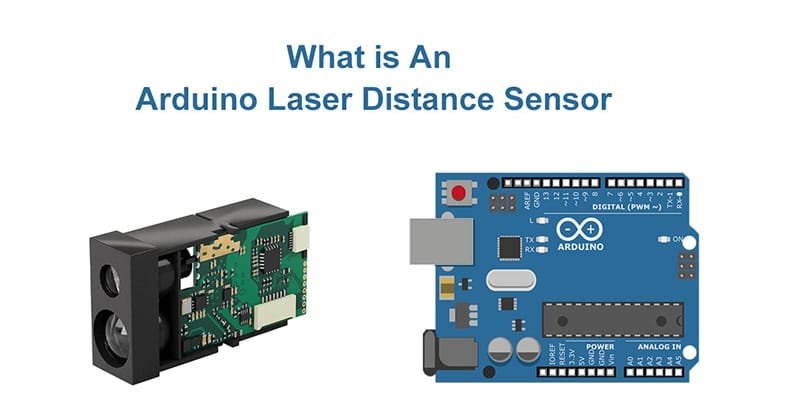
¿Por qué utilizar un sensor láser con Arduino?
En comparación con los sensores ultrasónicos o infrarrojos, los sensores láser ofrecen:
- Mayor precisión: Hasta ±1 mm
- Mayor rango de medición: Desde unos pocos centímetros hasta 3000 metros
- Respuesta más rápida: Ideal para aplicaciones de alta velocidad
- Diseño compacto y duradero: Muchos módulos admiten carcasas con clasificación IP
Estas ventajas hacen que sensor láser Arduino integraciones adecuadas tanto para aficionados al bricolaje como para ingenieros industriales profesionales.
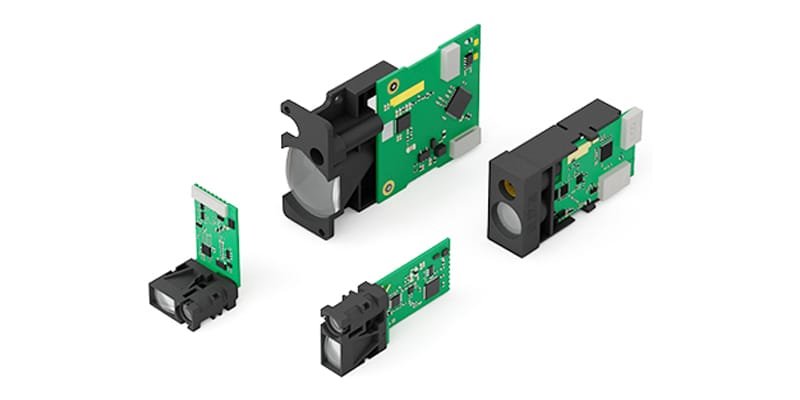
Especificaciones típicas de los módulos
| Característica | Descripción |
|---|---|
| Interfaz | UART / TTL |
| Tensión de funcionamiento | Lógica de 3,3 V |
| Gama | 0,05 m - 3000 m |
| Precisión | ±1 mm |
| Aplicación | Robótica, automatización, posicionamiento |
Guía de cableado del módulo sensor láser Arduino
Puede conectar un LDJ sensor láser para Arduino utilizando sólo cuatro cables de puente. Esta es una configuración común:

| Cable del sensor | Pin Arduino | Función |
|---|---|---|
| Negro | GND | Suelo |
| Rojo | 3.3V | Fuente de alimentación |
| Amarillo | D3 | RX (recepción) |
| Verde | D2 | TX (transmitir) |
Importante: Asegúrese de que el pin TX del Arduino no envía 5V directamente a un sensor lógico de 3,3V. Utiliza un variador de nivel si es necesario.
Ejemplo de Código: Leer datos de distancia láser
#include

SoftwareSerial laserSerial(2, 3); // RX = D2, TX = D3

void setup() {
  Serial.begin(9600);
  laserSerial.begin(115200); // Ajústelo a la velocidad en baudios de su sensor
  Serial.println("Lectura del sensor láser Arduino iniciada");
}

void loop() {
  if (laserSerial.available()) {
    String data = laserSerial.readStringUntil('\n');
    Serial.println("Distancia: " + datos);
  }
  delay(100);
}
Este sencillo sketch inicializa la conexión serie e imprime los datos de distancia en el Monitor Serie.
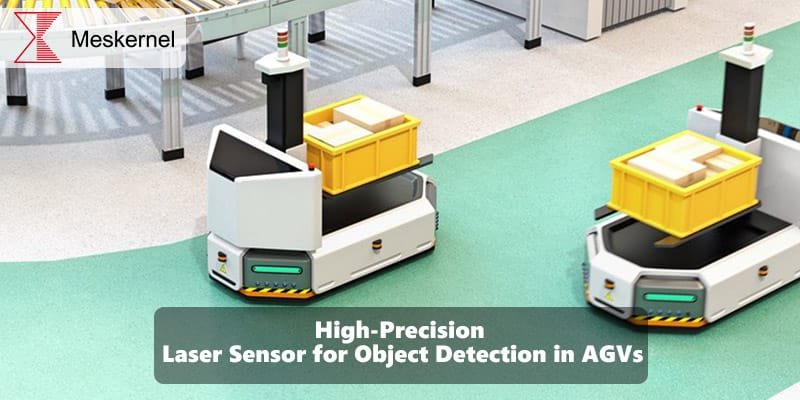
Casos prácticos para Arduino Laser Distance Proyectos de sensores
He aquí algunas aplicaciones reales de un sensor láser Arduino configuración:
| Aplicación | Descripción |
|---|---|
| Navegación robótica | Evitación de obstáculos y cartografía precisas |
| Sistemas de atraque en puerto | Controle la distancia entre el barco y el muelle en tiempo real |
| Automatización de almacenes | Detecta con precisión la altura y la ubicación de los objetos |
| Zonas de seguridad industrial | Supervisar la presencia de objetos en zonas peligrosas |
| Agricultura inteligente | Medir el crecimiento de las plantas o la elevación del terreno |
Cada caso de uso se beneficia de mediciones de alta velocidad y gran precisión que los simples sensores analógicos no pueden igualar.

Consejos para solucionar problemas
- ¿No hay lecturas? Compruebe el cableado RX/TX y la velocidad en baudios
- ¿Salida confusa? Asegúrese de que la velocidad en baudios coincide con los ajustes del sensor
- ¿El sensor no responde? Confirma que está alimentado a 3.3V
- ¿Lecturas inestables? Añadir condensador de filtrado o comprobar la superficie de reflexión
Conclusión
A sensor láser Arduino ofrece un alto rendimiento y facilidad de uso. Tanto si eres un fabricante que busca ampliar su conjunto de herramientas o un ingeniero que construye prototipos industriales, estos sensores ofrecen una gran capacidad en un factor de forma pequeño.
Explora nuestro catálogo de productos para obtener una lista completa de módulos de sensor láser arduinocon hojas de datos y código de muestra.