How to Build a Laser Sensor Arduino Project: Wiring, Code, and Industrial Applications
Introduction
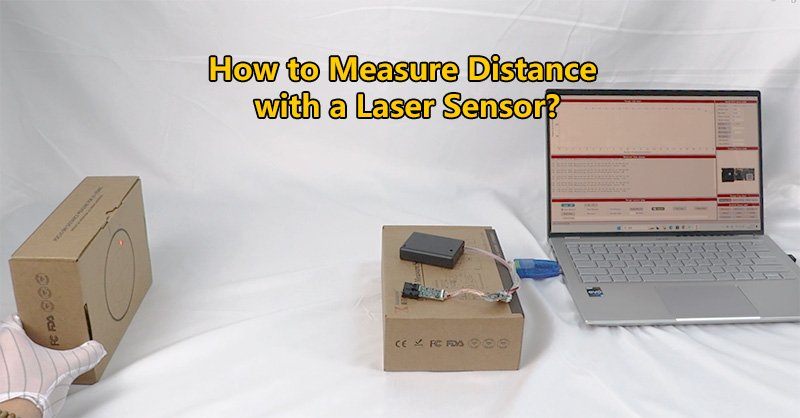
Integrating a laser sensor with Arduino is one of the most efficient ways to achieve precise, real-time distance measurements in embedded systems. Whether you’re building a robot, an automated gate, or a monitoring system, this laser sensor Arduino setup offers high accuracy, long range, and fast response—all in a compact design.
In this article, we’ll walk you through the wiring, setup, sample code, and typical industrial applications. Keywords such as arduino laser sensor, laser sensor for arduino, and arduino laser sensor module are also addressed to help you find the right module and implementation for your project.

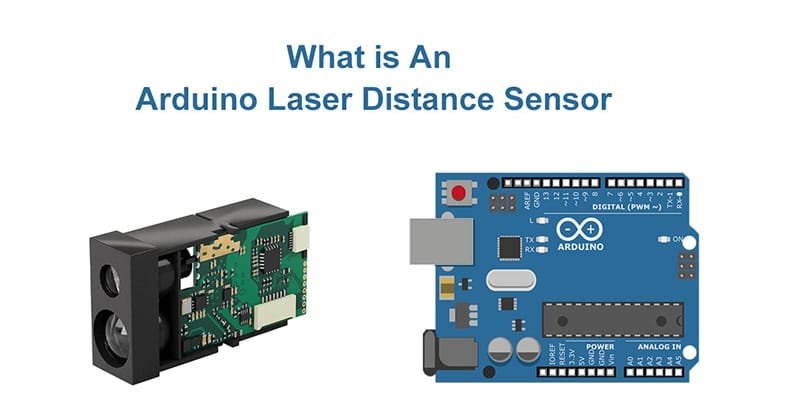
Why Use a Laser Sensor with Arduino?
Compared to ultrasonic or infrared sensors, laser sensors provide:
- Higher Accuracy: Up to ±1 mm
- Longer Measurement Range: From a few centimeters up to 3000 meters
- Faster Response: Ideal for high-speed applications
- Compact & Durable Design: Many modules support IP-rated enclosures
These advantages make laser sensor Arduino integrations suitable for both DIY hobbyists and professional industrial engineers.
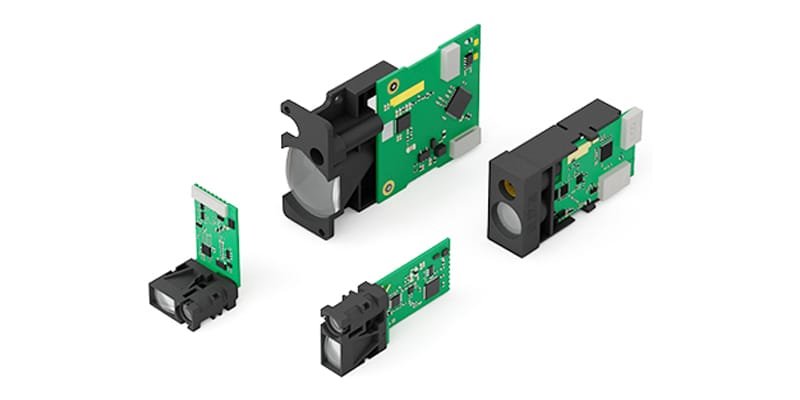
Typical Module Specs
| Feature | Description |
|---|---|
| Interface | UART / TTL |
| Operating Voltage | 3.3V logic |
| Range | 0.05 m – 3000 m |
| Accuracy | ±1 mm |
| Application | Robotics, automation, positioning |
Wiring Guide for Arduino Laser Sensor Module
You can connect a LDJ laser sensor for Arduino using just four jumper wires. Here’s a common setup:

| Sensor Wire | Arduino Pin | Function |
|---|---|---|
| Black | GND | Ground |
| Red | 3.3V | Power Supply |
| Yellow | D3 | RX (receive) |
| Green | D2 | TX (transmit) |
Important: Ensure that the Arduino’s TX pin does not send 5V directly into a 3.3V logic sensor. Use a level shifter if necessary.
Example Code: Read Laser Distance Data
#include <SoftwareSerial.h>

SoftwareSerial laserSerial(2, 3); // RX = D2, TX = D3

void setup() {
  Serial.begin(9600);
  laserSerial.begin(115200); // Set to match your sensor's baud rate
  Serial.println("Laser sensor Arduino reading started");
}

void loop() {
  if (laserSerial.available()) {
    String data = laserSerial.readStringUntil('\n');
    Serial.println("Distance: " + data);
  }
  delay(100);
}
This simple sketch initializes the serial connection and prints distance data to the Serial Monitor.
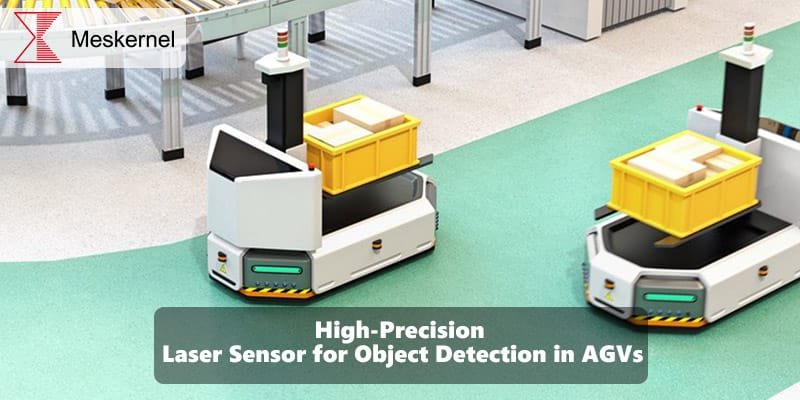
Use Cases for Arduino Laser Distance Sensor Projects
Here are a few real-world applications for a laser sensor Arduino setup:
| Application | Description |
|---|---|
| Robotics Navigation | Accurate obstacle avoidance and mapping |
| Port Docking Systems | Monitor ship-to-berth distance in real-time |
| Warehouse Automation | Detect object height and location precisely |
| Industrial Safety Zones | Monitor object presence in hazardous areas |
| Smart Farming | Measure plant growth or terrain elevation |
Each use case benefits from high-speed, high-accuracy measurements that simple analog sensors can’t match.

Troubleshooting Tips
- No readings? Check RX/TX wiring and baud rate
- Garbled output? Ensure baud rate matches sensor settings
- Sensor not responding? Confirm it’s powered at 3.3V
- Unstable readings? Add capacitor filtering or check reflection surface
Conclusion
A laser sensor Arduino project offers both high performance and ease of use. Whether you’re a maker looking to expand your toolkit or an engineer building industrial prototypes, these sensors offer serious capability in a small form factor.
Explore our product catalog for a full list of arduino laser sensor modules, complete with datasheets and sample code.